With our move sneaking up on us, I developed a little system to stay organized (and combat my pregnancy brain). When we moved last summer, I felt like boxes ended up in the wrong corners of our apartment and I was absolutely lost when it came time to unpack. Since we'll be moving from an apartment to a house this time around, we gain a bit more space to keep everything straight. I am trying to pack a few boxes a day in preparation because we don't know when baby {v} will decide to join us. As luck would have it, I will be full-term the week we expect to get possession of the house, so organization during our packing process is absolutely key.
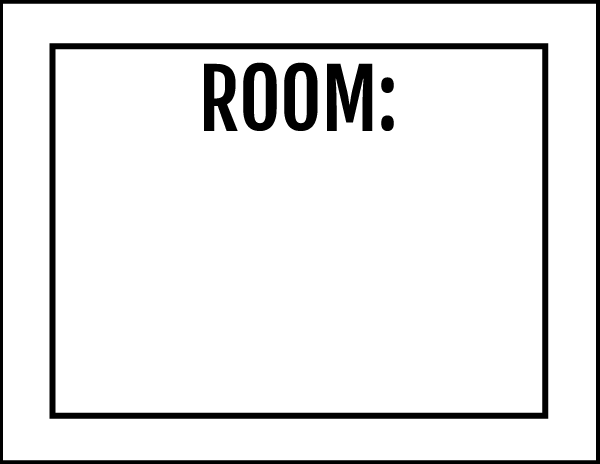
The system I am implementing with this move is simple: I plan to place one of these labels on each box we pack and then add the information collected into one master Excel doc. (I also made this handy door sign to reduce confusion with our movers.) You can see what each of the elements of this system look like below!
The system I am implementing with this move is simple: I plan to place one of these labels on each box we pack and then add the information collected into one master Excel doc. (I also made this handy door sign to reduce confusion with our movers.) You can see what each of the elements of this system look like below!
Many of the boxes we've used over the years include a box which captures similar information, but it didn't always give the range of options necessary for our situation. I placed the "room" space at the top (since it is most pertinent to the movers -- or whomever you have carrying your boxes). Directly below it, I included an "instructions" space to capture whether anything was fragile or if the box was extremely heavy. The "contents" space is pretty self-explanatory, but this is essential for keeping your head on straight when you're trying to find an item in a pinch. The "box number" will ensure you have an easy way to identify a box. The packing information is useful if you're not the only one packing up!
A couple of notes: this 8.5" x 11" should be cut in half (down the center) for optimal use. Tape one half of the label to the top of the box and tape the other half to the side of the box. (This will allow you to see what is in the box from the top and side!) When printing the .PDF, I recommend choosing the "fit" to paper option -- if available. It will make the label as large as the margins of your printer allow.
A couple of notes: this 8.5" x 11" should be cut in half (down the center) for optimal use. Tape one half of the label to the top of the box and tape the other half to the side of the box. (This will allow you to see what is in the box from the top and side!) When printing the .PDF, I recommend choosing the "fit" to paper option -- if available. It will make the label as large as the margins of your printer allow.
I know this seems like a simple sheet, but it is an essential one. Whether you hire a moving company or promise your friends a pizza for their help, this door sign will help identify where to place the box they're carrying. This will reduce the number of times you get asked where any particular room is (and serves as your proxy if you have to make a lunch run or need more packing tape).
This Excel document will help you maintain your sanity in the best way possible. With everything in one place, you will not have to worry about the whereabouts of your favorite sweater or the next book in the series you're reading. I included a couple of example lines (which you can promptly delete) to serve as a guide behind my Type A madness. It may take a couple of minutes on the front end to enter the contents of the box into your spreadsheet, but it will pay dividends later. (There is even an app for Google Drive, if you wanted to add this information using your phone!)
Of course, no move is foolproof. My hope is that this system provides peace of mind as you prepare for your next move. If you're not moving any day soon, you can always pin this post for future reference when the time does come. Since I know my readers are full of fantastic ideas, please feel free to leave a comment below about your "best practices" for moving. Sharing is caring ;) xoxo {av}


